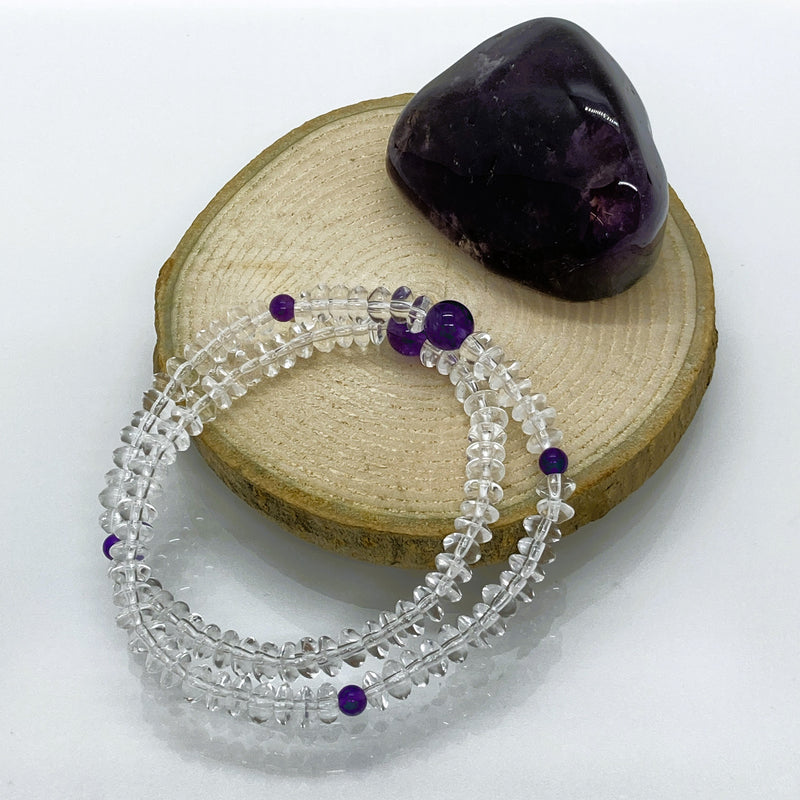
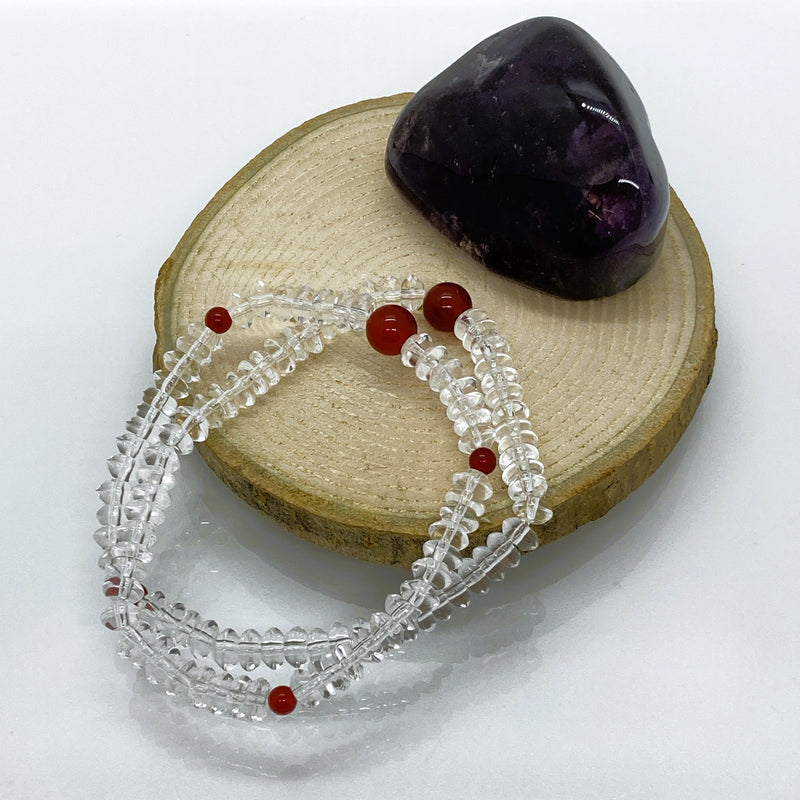
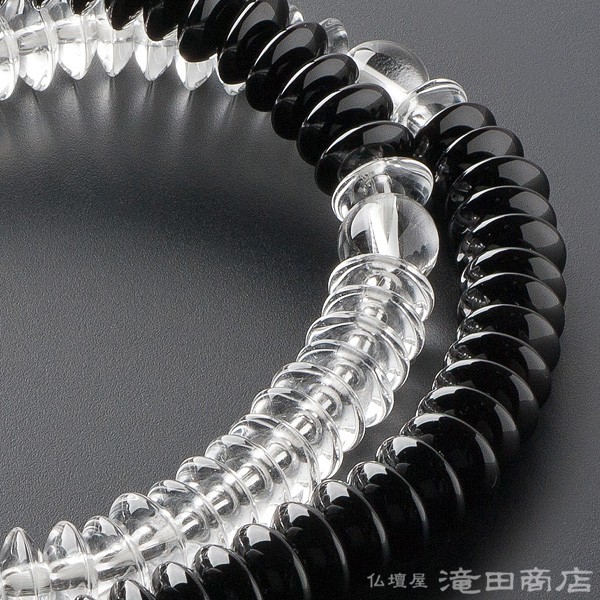
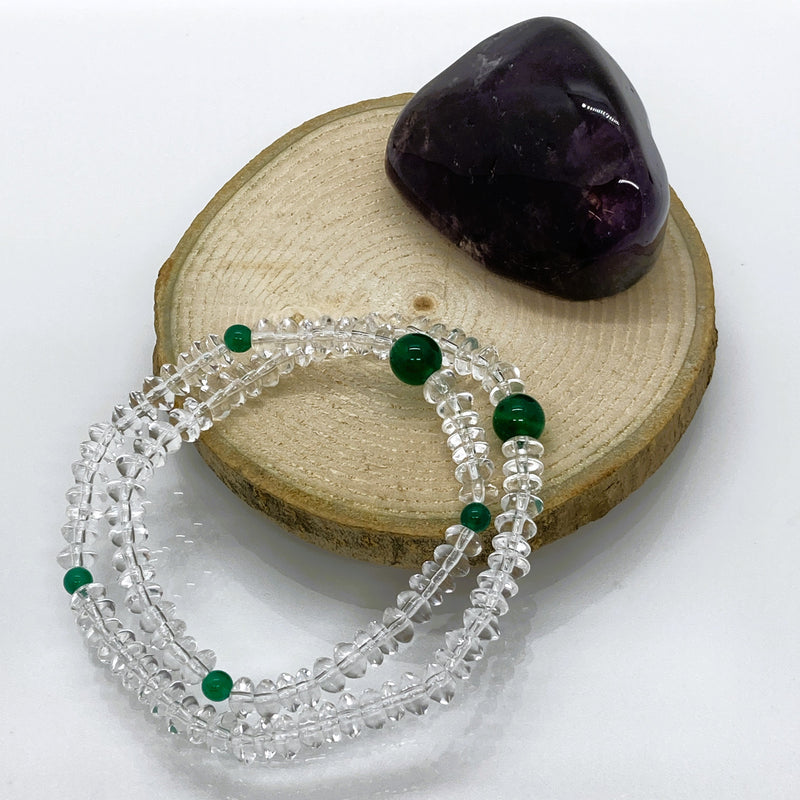
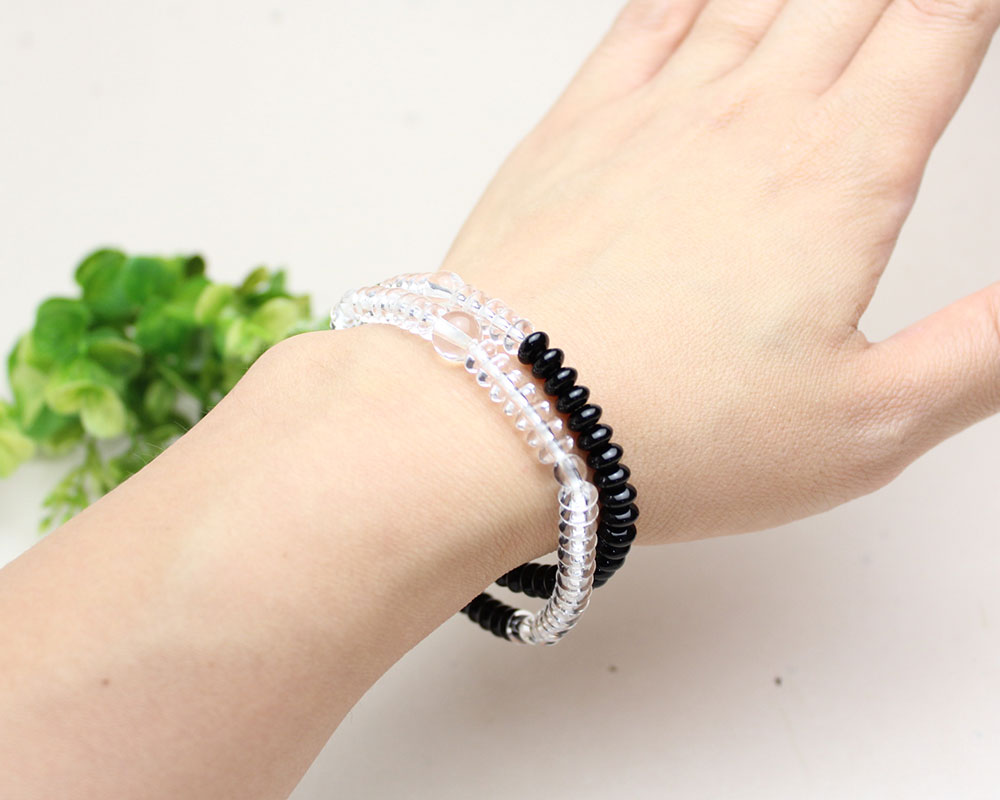
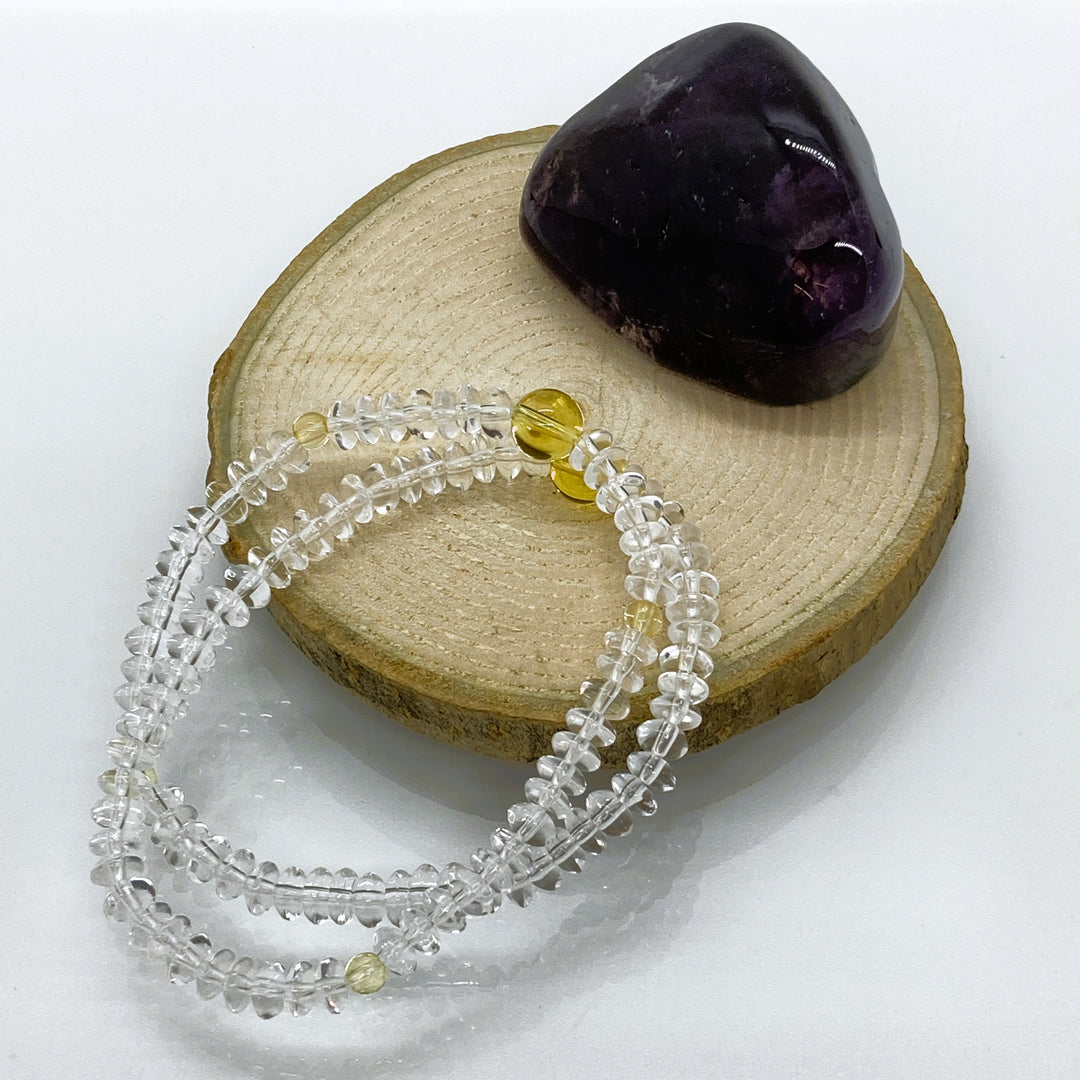
How do I set up a virtual host in XAMPP?

How do I set up a virtual host in XAMPP?

A virtual host is a configuration that allows you to run multiple websites on a single server. For local development, this means you can create custom domain names (like myproject.local) for each of your projects, making it easier to manage and test them. XAMPP, a popular local server environment, makes setting up virtual hosts straightforward. Whether you’re building a WordPress site, a custom web application, or just experimenting, this guide will help you get started.

Prerequisites

Before we begin, make sure you have the following:

  • XAMPP installed: Download and install XAMPP from the website if you haven’t already.
  • Basic knowledge of file paths: You’ll need to navigate and edit files on your computer.
  • A text editor: Use tools like Notepad++ or Visual Studio Code for editing configuration files.

Step-by-Step Guide to Setting Up a Virtual Host

Locate the httpd-vhosts.conf File

The httpd-vhosts.conf file is where you define your virtual hosts. Here’s how to find it:

  • Navigate to C:\xampp\apache\conf\extra\.
  • Look for the file named httpd-vhosts.conf.

This file is where Apache stores virtual host configurations. By default, it may contain some example configurations, which you can modify or replace.

Edit the httpd-vhosts.conf File

Open the httpd-vhosts.conf file in a text editor with administrative privileges. Add the following code to create a new virtual host:

<VirtualHost *:80>
    DocumentRoot "C:/xampp/htdocs/your_project_folder"
    ServerName yourproject.local
    <Directory "C:/xampp/htdocs/your_project_folder">
        Options Indexes FollowSymLinks
        AllowOverride All
        Require all granted
    </Directory>
</VirtualHost>

Explanation of the Code:

  • DocumentRoot: This points to the folder where your project files are stored. Replace your_project_folder with the actual folder name.
  • ServerName: This is the custom domain name you’ll use to access your project (e.g., yourproject.local).
  • <Directory>: This block sets permissions for the folder, allowing Apache to access and serve your files.

Save the file after making these changes.

Edit the hosts File

The hosts file maps domain names to IP addresses on your local machine. Here’s how to edit it:

  • Navigate to C:\Windows\System32\drivers\etc\.
  • Open the hosts file in a text editor with administrative privileges.
  • Add the following line at the end of the file:
127.0.0.1   yourproject.local

This tells your computer to route requests for yourproject.local to your local server.

Restart Apache

For the changes to take effect, you need to restart Apache:

  • Open the XAMPP Control Panel.
  • Stop the Apache server by clicking the Stop button.
  • Start it again by clicking the Start button.

Testing the Virtual Host

Now it’s time to see if everything works:

  • Open your web browser.
  • Type http://yourproject.local in the address bar and press Enter.
  • If everything is set up correctly, your project should load.

Troubleshooting Common Issues

Sometimes, things don’t go as planned. Here are some common issues and how to fix them:

Virtual Host Not Working

  • Solution: Double-check the httpd-vhosts.conf file for typos or syntax errors. Ensure the DocumentRoot path is correct.

Access Forbidden

  • Solution: Verify the <Directory> block in the httpd-vhosts.conf file. Make sure Require all granted is included.

Domain Not Resolving

  • Solution: Ensure the hosts file entry is correct and there are no extra spaces or typos.

Conclusion

Setting up a virtual host in XAMPP is a simple yet powerful way to streamline your web development workflow. By following this guide, you can create custom domains for your projects, making testing and debugging much easier. Whether you’re working on one project or multiple, virtual hosts are a game-changer.

Leave a Comment

Your email address will not be published. Required fields are marked *